Building a simple Keras + deep learning REST API(文章翻譯)
文章來源:The Keras Blog
原文連結_Keras
這是一篇Adrian Rosebrock的客座文章,Adrian是PyImageSearch.com的作者,這是一個關於機器視覺與深度學習Blog。Adrian最近剛完成一本著作Deep Learning for Computer Vision with python,一本關於深度學習使用Keras進行機器視覺與影像辨識的新書。
在這個教學中,我們將展示一個應用Keras模型並將它佈暑為REST API的簡單方式。
本文範例將做為你建構自己的深度學習API的模板/起點,你將可以擴展程式碼並依著API端點需求的可擴展性及可靠性來自定義。
我們將學習到:
- 如何去(如何不去)將Keras模型載入到記憶體以便可以有效率的用於推理
- 如何使用Flask框架來建立我們的API端點
- 如何利用我們的模型做預測,將結果以JSON-ify回傳到Client端
- 如何利用Python與curl呼叫我們建立的Keras API
最終你將對建立Keras REST API的組件有很好的理解(最簡單的形式)
你可以隨意的使用這個指南的所有程式碼到你的深度學習REST API
注意:這邊介紹的方法用意在於教學,並不代表它可以使用於生產環境或可以負擔高承載。如果你對利用消息隊列或批處理的更高階Keras REST API有興趣,請參考A scalable Keras + deep learning REST API
設置開發環境
我們將假設你已經在你的電腦安裝並設置好Keras。如果沒有,請確保你依著官方文件說明安裝。
之後我們需要安裝Flask(以及它的相依套件),用來建立API端點的Python web開發框架。也需要request,它可以讓我們順利使用我們的API。
相關安裝命令如下:
pip install flask gvent requests pillow
建立Keras REST API
Keras REST API包含在一個單獨文件run_keras_server.py中。為了簡單起見,我們將安裝保存在單一文件中-實作起來可以更簡單的模組化。
在run_keras_server.py中你會發現三個函數,命名如下:
- load_model: 載入Keras模型,並做好準備
- prepare_image: 這函數用來對要透過模型預測的輸入照片做預處理。如果你不是處理影像資料,也許可以考慮將函數名稱變更為更通用的
prepare_datapoint並應用任何你可能執行的資料標準化工作 - predict: API的實際端點,它將對透過請求傳入的資料做分類並回傳結果給Client
此教學的程式碼可以在這邊找到jrosebr1_git
# import the necessary packages
from keras.applications import ResNet50
from keras.preprocessing.image import img_to_array
from keras.applications import imagenet_utils
from PIL import Image
import numpy as np
import flask
import io

# initialize our Flask application and the Keras model
app = flask.Flask(__name__)
model = None
上面程式碼主要載入需求模組以及初始化flask與Keras model
這邊我們定義load_model
- function: load_model
def load_model():
    # load the pre-trained Keras model (here we are using a model
    # pre-trained on ImageNet and provided by Keras, but you can
    # substitute in your own networks just as easily)
    global model
    model = ResNet50(weights="imagenet")
顧名思義,這個函數負責實體化我們的結構以及從磁碟中讀取權重,為了簡單起見,我們將使用Keras已經預訓練好的ResNet50,如果你使用你自定義的模型,那你將可以調整這個函數從磁碟載入模型以及權重。
在我們對來自客戶端的任何資料進行預測之前,我們首先需要準備和資料預處理:
def prepare_image(image, target):
    # if the image mode is not RGB, convert it
    if image.mode != "RGB":
        image = image.convert("RGB")

    # resize the input image and preprocess it
    image = image.resize(target)
    image = img_to_array(image)
    image = np.expand_dims(image, axis=0)
    image = imagenet_utils.preprocess_input(image)

    # return the processed image
    return image
這個函數功能如下:
- 接受輸入照片
- 將照片轉為
RBG(如果需要的話) - 調整照片尺寸為224x224(ResNet的輸入維度,如果你使用自定義模型記得調整為你個人輸入維度)
- 通過均值減法縮放資料
同樣的,在將輸入資料傳遞到模型之前,你應該根據所需的任何預處理,縮放或標準化來修改此函數。
我們現在準備定義predict函數,此函數處理對/predict端點的任何請求。
@app.route("/predict", methods=["POST"])
def predict():
    # initialize the data dictionary that will be returned from the
    # view
    data = {"success": False}

    # ensure an image was properly uploaded to our endpoint
    if flask.request.method == "POST":
        if flask.request.files.get("image"):
            # read the image in PIL format
            image = flask.request.files["image"].read()
            image = Image.open(io.BytesIO(image))

            # preprocess the image and prepare it for classification
            image = prepare_image(image, target=(224, 224))

            # classify the input image and then initialize the list
            # of predictions to return to the client
            preds = model.predict(image)
            results = imagenet_utils.decode_predictions(preds)
            data["predictions"] = []

            # loop over the results and add them to the list of
            # returned predictions
            for (imagenetID, label, prob) in results[0]:
                r = {"label": label, "probability": float(prob)}
                data["predictions"].append(r)

            # indicate that the request was a success
            data["success"] = True

    # return the data dictionary as a JSON response
    return flask.jsonify(data)
dict參數data主要用來保存任何要回傳給Client端的資料,success的boolean用來做為預測成功與否的指標,我們也用這個dict參數保存輸入資料的預測結果。
接收傳入資料時我們需要檢核:
request method是POST(允許我們發送任意資料到這個端點,包含照片、JSON、編碼資料…等)- 在POST期間,照片已經寫入
files
接著我們取得傳入的資料:
- 利用PIL讀取它
- 執行資料預處理
- 利用網路傳輸
- 迴圈保存結果並將資料list格式寫入
data["predictions"] - 以JSON格式回傳結果至Client端
如果你正使用非影像資料,那你應該移除request.files並自行解析輸入資料或利用request.get_json()自動解析資料將格式轉為Python dict或是物件。此外,可以考慮參考bar-talk:processing incoming request data in flast,這是一個討論flask請求對象的基礎。
剩下要做的就是啟動我們的服務:
# if this is the main thread of execution first load the model and
# then start the server
if __name__ == "__main__":
    print(("* Loading Keras model and Flask starting server..."
        "please wait until server has fully started"))
    load_model()
    app.run()
首先我們呼叫load_model從磁碟載入Keras model
呼叫load_model是一個阻斷式作業(blocking operation),並阻止web service啟動,一直到模型完成載入。如果我們沒有確保模型完全載入記憶體,並且在啟動web service之前,那我們可能會遇到下面狀況:
- 一個
request被POST到伺服器 - 伺服器接收
request,預處理資料並嚐試將資料傳入模型 - 但模型尚未被確實的載入,我們的腳本將會異常。
當建置自定義Keras REST API時,請確保插入邏輯以保證在接受請求之前模型是載入完成並準備推理。
如何不要在REST API中載入Keras模型
你也許會嚐試將模型載入寫在predict,就像這樣:
    # ensure an image was properly uploaded to our endpoint
    if request.method == "POST":
        if request.files.get("image"):
            # read the image in PIL format
            image = request.files["image"].read()
            image = Image.open(io.BytesIO(image))

            # preprocess the image and prepare it for classification
            image = prepare_image(image, target=(224, 224))

            # load the model
            model = ResNet50(weights="imagenet")

            # classify the input image and then initialize the list
            # of predictions to return to the client
            preds = model.predict(image)
            results = imagenet_utils.decode_predictions(preds)
            data["predictions"] = []
這段程式碼意味著每來一個新的request就會重新載入一次模型,這非常低效而且可能導致你的系統記憶體不足。
如果你執行上面程式碼,你會發現你的API執行非常的慢(特別是如果你的模型很大的話),這是因為每一個request都重新載入模型造成CPU與IO顯著的開銷。
看看它如何簡單的擊潰你的伺服器記憶體,假設我們同時有N個request傳入,這代表同時會有N個模型被載入記憶體,如果你的模型非常大,像ResNet,保存了N份在記憶體,這非常容易耗盡你的記憶體。
為此,盡量避免每一個request都載入一次模型,除非你有非常具體合理的理由來做這件事。
警告:我們假設你使用的是單線程的Flask服務(預設值)。如果你佈署多線程的服務,即使使用本文討論較正常的方式,還是有可能會一次載入多個模型進記憶體。如果你考慮使用專用的伺服器,像是Apache或nginx,你應該考慮讓你的管理更具擴展性,參考scalable keras deep learning rest api
啟動Keras REST API
啟動Keras REST API服務非常簡單,開啟終端機並執行:
$ python run_keras_server.py
Using TensorFlow backend.
 * Loading Keras model and Flask starting server...please wait until server has fully started
...
 * Running on http://127.0.0.1:5000
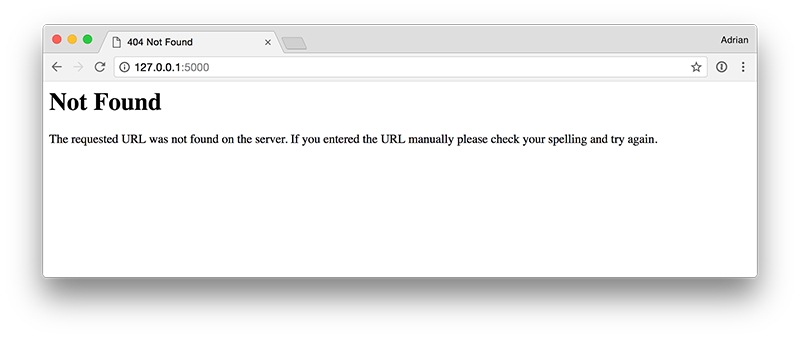
從輸出可以看的出來,模型優先載入,接著我們可以啟動Flask服務,你可以通過http://127.0.0.1:5000來連結伺服器。然而,如果你直接將上述連結直接貼到瀏灠器,你會看到下面的圖片:

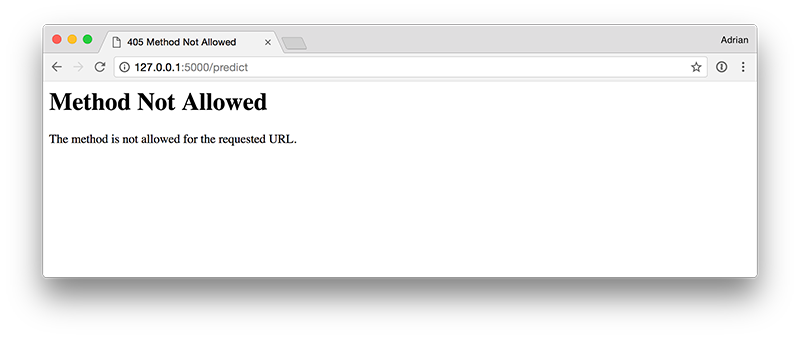
原因是因為Flask URL路由中沒有設置主頁(app.route('/')),相反的你試著直接訪問http://127.0.0.1:5000/predict,會看到如下圖片:

你將看到Method Not Allowed異常訊息,這是因為你的瀏灠器正在執行GETrequest,但你的路由僅接受POST(下一節將展示如何執行)
使用cURL來測試Keras REST API
在測試或調試Keras REST API的時候,可以考慮使用cURL(無論如何,這是一個學習如何使用的好工具)
下面的照片是我們要做分類用的,一條狗,更正確的說是一條小獵犬

我們可以使用curl將照片傳到API並找出ResNet認定的照片內容:
$ curl -X POST -F image=@dog.jpg 'http://localhost:5000/predict'
{
  "predictions": [
    {
      "label": "beagle",
      "probability": 0.9901360869407654
    },
    {
      "label": "Walker_hound",
      "probability": 0.002396771451458335
    },
    {
      "label": "pot",
      "probability": 0.0013951235450804234
    },
    {
      "label": "Brittany_spaniel",
      "probability": 0.001283277408219874
    },
    {
      "label": "bluetick",
      "probability": 0.0010894243605434895
    }
  ],
  "success": true
}
-X POST代表我們正執行一個POST request
-F image =@dog.jpg代表我們正提交表單編碼資料,image的鍵值設置為@dog.jpg的內容,@符號意味著我們希望cURL載入該影像內容並將資料傳給該request
http://localhost:5000/predict代表執行的端點
注意到該輸入照片被正確歸類到beagle,並且有99.01%的置信度,其餘的top-5預測對象與概率也包含在我們Keras REST API響應中。
在程式碼內使用Keras REST API
十之八九,你將同時向Keras REST API提交資料,並以某種方式使用回傳的預測,這需要以寫程式的方式來處理伺服器的響應。
這是一個使用Python模組request的直接過程:
- file name: simple_request.py
# import the necessary packages
import requests

# initialize the Keras REST API endpoint URL along with the input
# image path
KERAS_REST_API_URL = "http://localhost:5000/predict"
IMAGE_PATH = "dog.jpg"

# load the input image and construct the payload for the request
image = open(IMAGE_PATH, "rb").read()
payload = {"image": image}

# submit the request
r = requests.post(KERAS_REST_API_URL, files=payload).json()

# ensure the request was successful
if r["success"]:
    # loop over the predictions and display them
    for (i, result) in enumerate(r["predictions"]):
        print("{}. {}: {:.4f}".format(i + 1, result["label"],
            result["probability"]))

# otherwise, the request failed
else:
    print("Request failed")
KERAS_REST_API_URL指向我們的端點
IMAGE_PATH指向照片路徑
使用IMAGE_PATH來載入照片,並且結構化payload給予request。
給定payload,我們可以使用request.postPOST資料到我們的端點,將.json()加入語法的最後會指示以下request:
- 伺服器的響應(response)必需是JSON
- 我們希望為我們自動解析和反序列化JSON object
一但我們得到該request的輸出,r,我們可以確認分類是否成功,並迴圈r['predictions']取得資料。
執行simple_request.py,首先要確認run_keras_server.py(即flask服務)是否啟動,在shell中執行下面指令:
$ python simple_request.py
1. beagle: 0.9901
2. Walker_hound: 0.0024
3. pot: 0.0014
4. Brittany_spaniel: 0.0013
5. bluetick: 0.0011
我們成功的利用Python呼叫了Keras REST API,並獲得模型預測結果。
這篇文章中你學到了:
- 使用Flask Web Framework將Keras model包裝為REST API
- 使用
cURL來派送資料到API - 使用Python以及模組
request來派送資料到端點並使用結果
該教程的程式碼可以在jrosebr1_git找到,這代表它可以用來當你的Keras REST API的基板,你可以任意修改它。
請記住,這文章中的程式碼是引導用的,並不代表它可以使用於生產環境或可以負擔高承載。
以下情況最好使用此方法:
- 你需要快速為你的Keras模型建立REST API
- 你的端點不會被重擊(負載過大的意思?)
如果你對利用消息隊列和批處理的進階Keras REST API感興趣,請參閱此blog。
如果你對該文章有任何的問題或評論,請移駕至Adrian from PyImageSearch。未來主題的建議請至Twitter上尋找Francois on Twitter
沒有留言:
張貼留言